Note: If you
don’t have any customization at business central then you can directly use the
Data Source of Business Central, but if you have any customization in Business
Central from scratch or extended fields then the Data Source of Business
Central will not work for you. To access those custom fields and entities we
need to create Custom Connector.
There are so many actions available in Custom
Connector like Get, Delete, Post, Put, Head, Options and Patch. So, we are
going to look at Get, Post, Patch and Delete.
How to Create Custom Connector?
Step 1: Click on Custom
Connector in PowerApps, now, click on New Custom Connector and after that
we need to Click on Create from Blank.
Step 2: Add the Name of your Custom Connector,
You need to add multiple actions into the one Connector.
Step
3: Now Let’s Add Details in Custom Connector. We need to add Business Central
Host in Custom Connector api.businesscentral.dynamics.com.
Step
4: Now move on the Security Tab and add User Name and Password after selecting
the Authentication Type.
Now let’s move into the Definition tab
Get
Step 5: Let create Get action first to create get action we need to click on New Action Button as per below image. And
need to add function name so it will be visible at PowerApp Side when we develop an app.
After
adding the information we need to add the request information. In Request part
need to click on the Import from sample.
Now, Click on the Get verb and When you add the URL at that
time don’t forgot to add variable for Company
Id without that the solution will
work as static. After adding all the information click on the Import Button.
Right now we are in the last step to complete
the Get Action in which we need to add the default response from web service of
business central.
Now you can test your custom connector from the last Test
tab. But let’s do that later before that let’s complete the other actions.
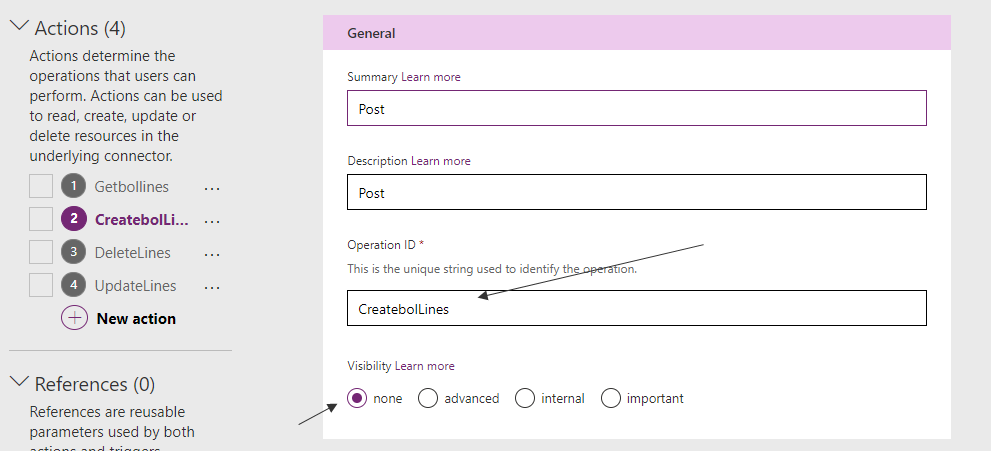
Post
Same as the Get action we need to add name of
the function and action in the General part.
After
adding the information at General Tab we need to add the details into Request
tab as below image. We need to select Post action and after that we need to add
the URL and sample body which we are going to use in our PowerApps.
Now
we need to do same thing into the response part.
Update
Update action will work the same way but for
this action we need to add parameters (filters) because business central need
if-match formula as well as the sample body and filters to identify which
records need to modify. So, let’s start with General Tab. Same as the above two
actions we need to add the function and action names into the General Tab.
Now,
the main change is in the Request section what we need to do is need to add the
filter so the business central web service will identify the records which are
you going to modify.
Also
the If-Match header is important
without that patch call is not going to work. And same as post we need to add
the body also into the response section as well.
Delete
We are not going to show all the parts in delete
because it is working the same way as Patch just we need to add the all the
details from Patch action just one difference between these two is for Body,
Delete action will not have any Body.
This
is all for Custom Connector now, any developer can use this Custom Connector
for Get, Post, Patch and Delete.